
Hygiene Bank Activity Instructions
Simply the Basics has made a real impact in the community because of the Quality of Care that we put into our distributions, and we rely on volunteers such as yourself to help us maintain these standards of care - please help us continue to offer this care and make a measurable difference by following all of the instructions carefully.
watch the following instructional video for Hygiene Kits

Before Activity Day
Step 1:: Ensure you have all of the required products for your activity day and print out any required materials. Check the Material's Checklist!
Step 2: 📆 Invite family, friends, and colleagues to join your Simply the Basics Activity Day! In your invitation, we encourage you to share with all of your attendees our Mini-documentary (an impactful 8 minutes) to help the group understand the impact of their day.
Step 3: Read about Simply the Basics programs and impact to share with your group and feel connected to your activity.
Day of Activity
Step 1- Double Confirm Your Materials
Abbreviated Check List: (Complete check list HERE)
For Hygiene Kits
Travel Hygiene Products (Soap, body wash, shampoo, deodorant, lotion, toothbrush, toothpaste, socks, masks, sanitizer, wet wipes).
Reusable, Simply the Basics Tote Bags
Hygiene Kit Box Packing Slip: 1 per box (Print HERE - to include 1 in each cardboard packing box on top of the completed hygiene kits)
For Menstrual Care Packs
Menstrual Care (Tampons, pads)
Body safe wipes (alcohol free)
Sandwich sized ziplocs
Menstrual Care Box Packing Slip: 1 per box (Print HERE - to include 1 in each cardboard packing box on top of the completed hygiene kits)
For All Activities (Volunteers to supply)
Empty Boxes. For every 100 kits, ensure 2-3 boxes (*Tip: You can use the boxes products came in!)
Tape, Markers/Pens, Scissors
Client Survey Cards (Print HERE) for both hygiene kits + menstrual care packs
*If doing only menstrual care packs, feel free to use this Client Survey Card which is specific to menstrual care packs!
Step 2- set up the space for your group
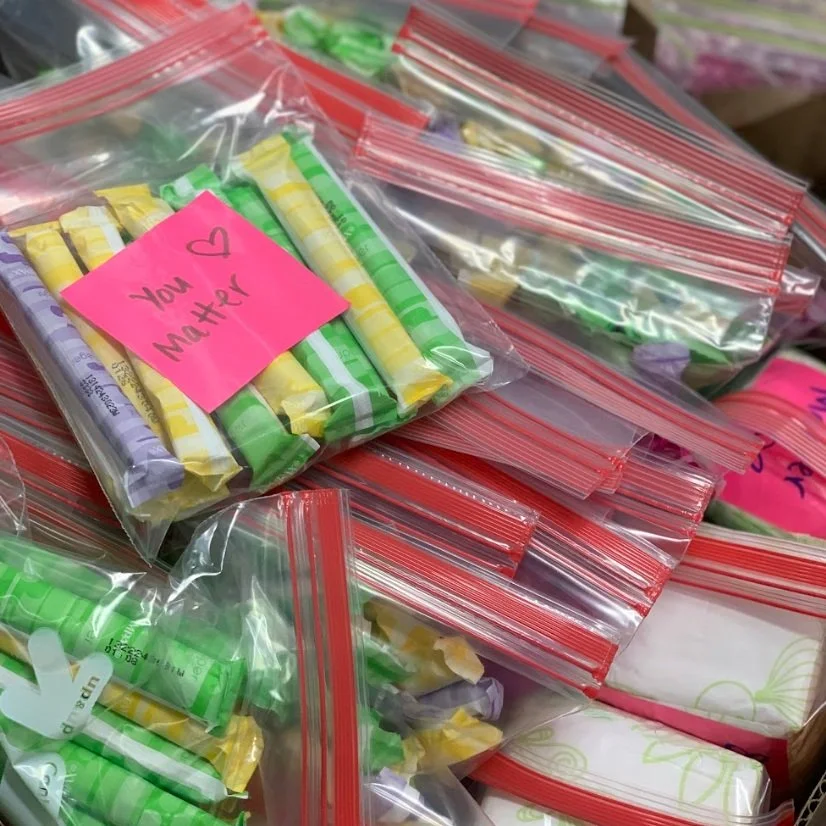
Prep the Message Writing Areas: To include messages in each kit, use the back of client survey cards and put markers with them. Our Recipients love to see your notes and it provides a huge compassionate impact when they see that a community member put together these kits! (Instruction below)
Setting up Your Packing Areas:
Hygiene Kits:
Using 1-2 long tables, place the Tote bags at the beginning of a line followed by unpackaged hygiene items and surveys in a line along tables, with empty boxes and tape at the end to fill the kits inside of. We recommend having extra space at the end of your tables, boxes can fill up quickly!
Menstrual Care Packs:
Smaller or round tables work well! Separate pads and tampons into two different piles. If available, empty pads into one basket and tampons into a different basket to keep things organized at your table. Place ziplocks, surveys/notes, and body wipes in the center of the table. We recommend having empty boxes nearby to fill the kits inside of. *Keeping pads and tampons separate is important. To ensure we provide Recipients a choice in product, tampons and pads will not be placed within the same ziplock.
*Tips:
Keep recycling and garbage nearby for packaging.
To keep the table looking neat, stock extra supplies below the table and simply restock when needed.


Step 3 - Compassionate Conversations (15-20 MINUTES)
Show our Documentary: We encourage you to start by showing the Simply the Basics Documentary. It is an engaging and impactful 8 minutes long where you can hear directly from our Nonprofit Partners! No AV available? Email it to everyone in advance. People will feel more connected to the day when they have a better idea of the impact that their time will make!
Looking for additional content? Visit our Youtube for an extensive library of videos on how our programs work and words from our partners and Recipients!
Compassionate Conversation Discussions: An important part of the day is helping to reduce stigma, remembering and thinking about the Recipients we are serving and emphasizing the impact of the group’s volunteer time. Right before beginning your group activity, we encourage you all to have a conversation about homelessness.
prompts for some great Discussion Questions:
Share one word that you think of when you think of homelessness in our town.
What is one Hygiene Item, that if you didn’t have every day, you would have a hard time going to school/work/etc?
Why do you think it is so difficult for someone experiencing homelessness to get a home? To find employment? To access services?
(Considerations: The high cost of rent and deposits. Difficulty acquiring a job without proper hygiene, a phone, or access to the internet. The challenges of transportation and moving around. The longer a person sleeps outside, the more trauma they will experience and the harder it is to rehabilitate).
Why is it better to say “Someone Experiencing Homelessness” rather than “Homeless Person”?
(Hint! It is because homelessness is not their identity, it is a temporary experience that can and should have an end. It is more compassionate to say '“experiencing homelessness”).
Check out this video from Aquis Hair to hear their Compassion Conversations!
Step 4 - write messages (10-20 minutes)
Many people experiencing homelessness have expressed feelings of loneliness and isolation. Our Recipients have also expressed how much they appreciate a connection to the volunteers and the notes they have received. Therefore, we encourage you to write some notes for the receiver, letting them know someone in their community was thinking of them. Use some blank paper or the back of the Client Survey Cards for this portion of the activity.

Please Note: Since we don’t know who will receive these messages, we ask that you do not write anything religious or political.
Not sure what to say? I like to simply write “Hope that this helps - the community cares about you!”
Step 5 - Assemble Hygiene Care! (Remainder of time)
Ready to start packing?!
Instruction to Assemble Hygiene Kits
Small Groups: Have people take one or two bags at a time, and go down the line to fill them up with hygiene products, and include one of the above handwritten messages in each!
Large Groups: You may place people in front of tables and rather pass the bags down assembly line style. This works well if you have multiple tables set up! *Please note, this way is efficient and ensures supplies are packed quickly. If you’d like your activity to last a couple of hours, you may consider the the first option as well.
Roles for the Group:
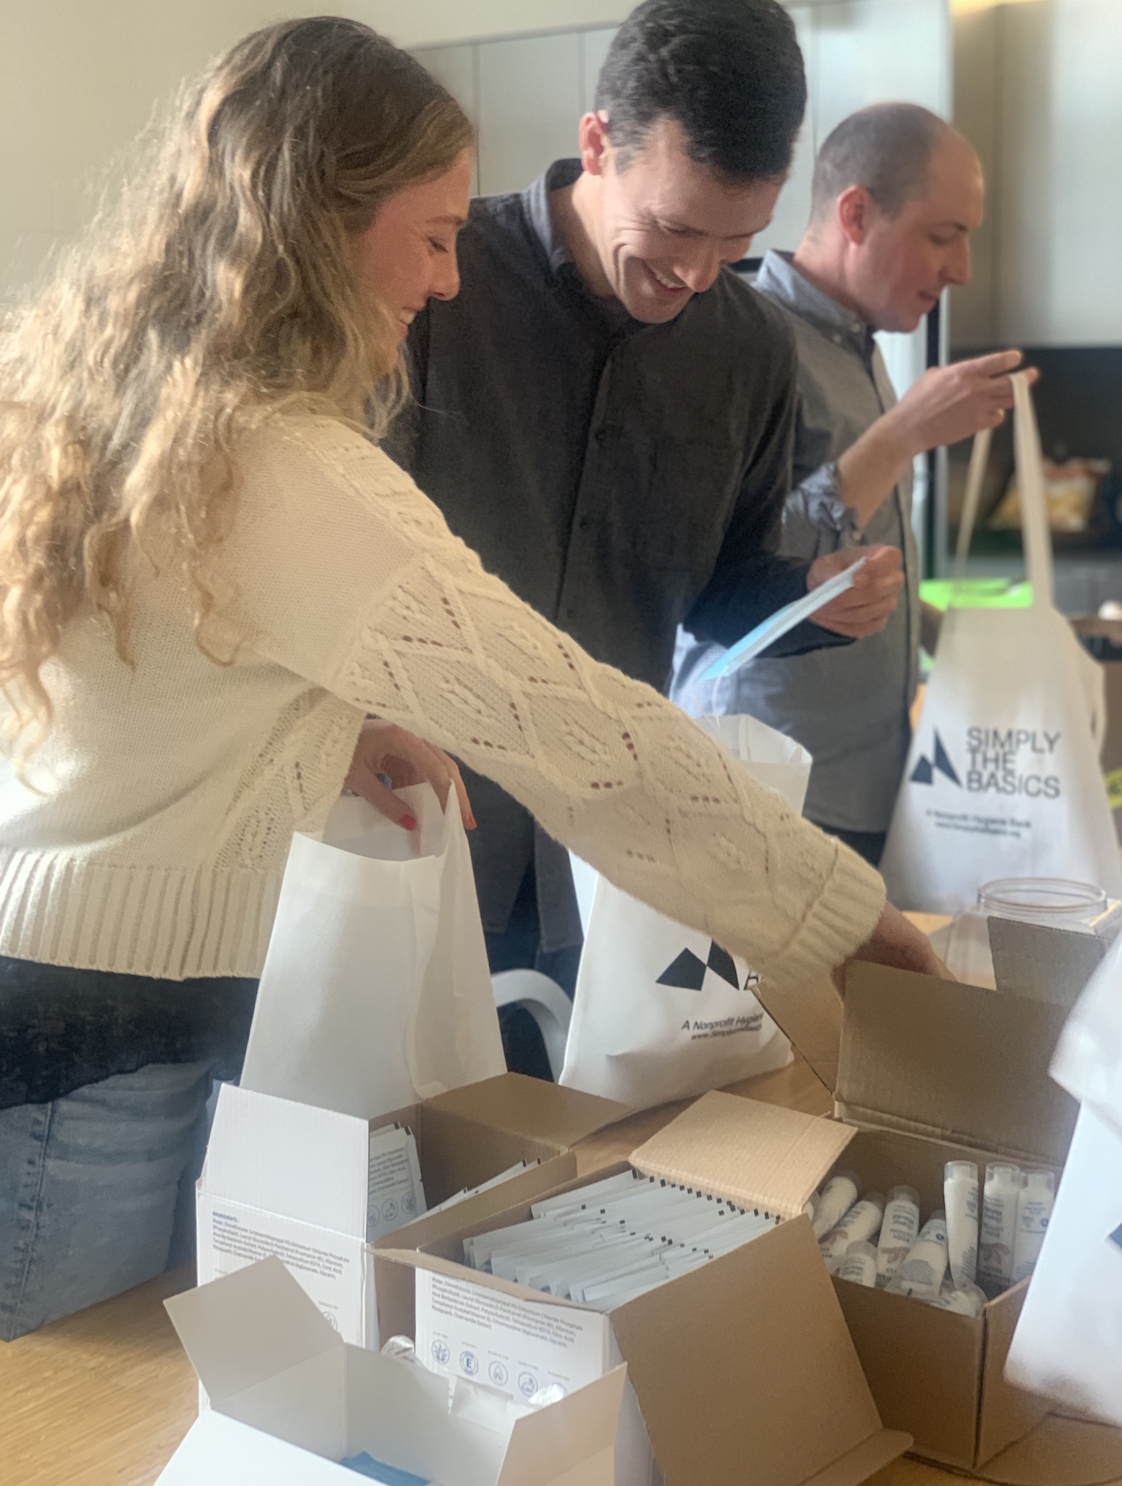
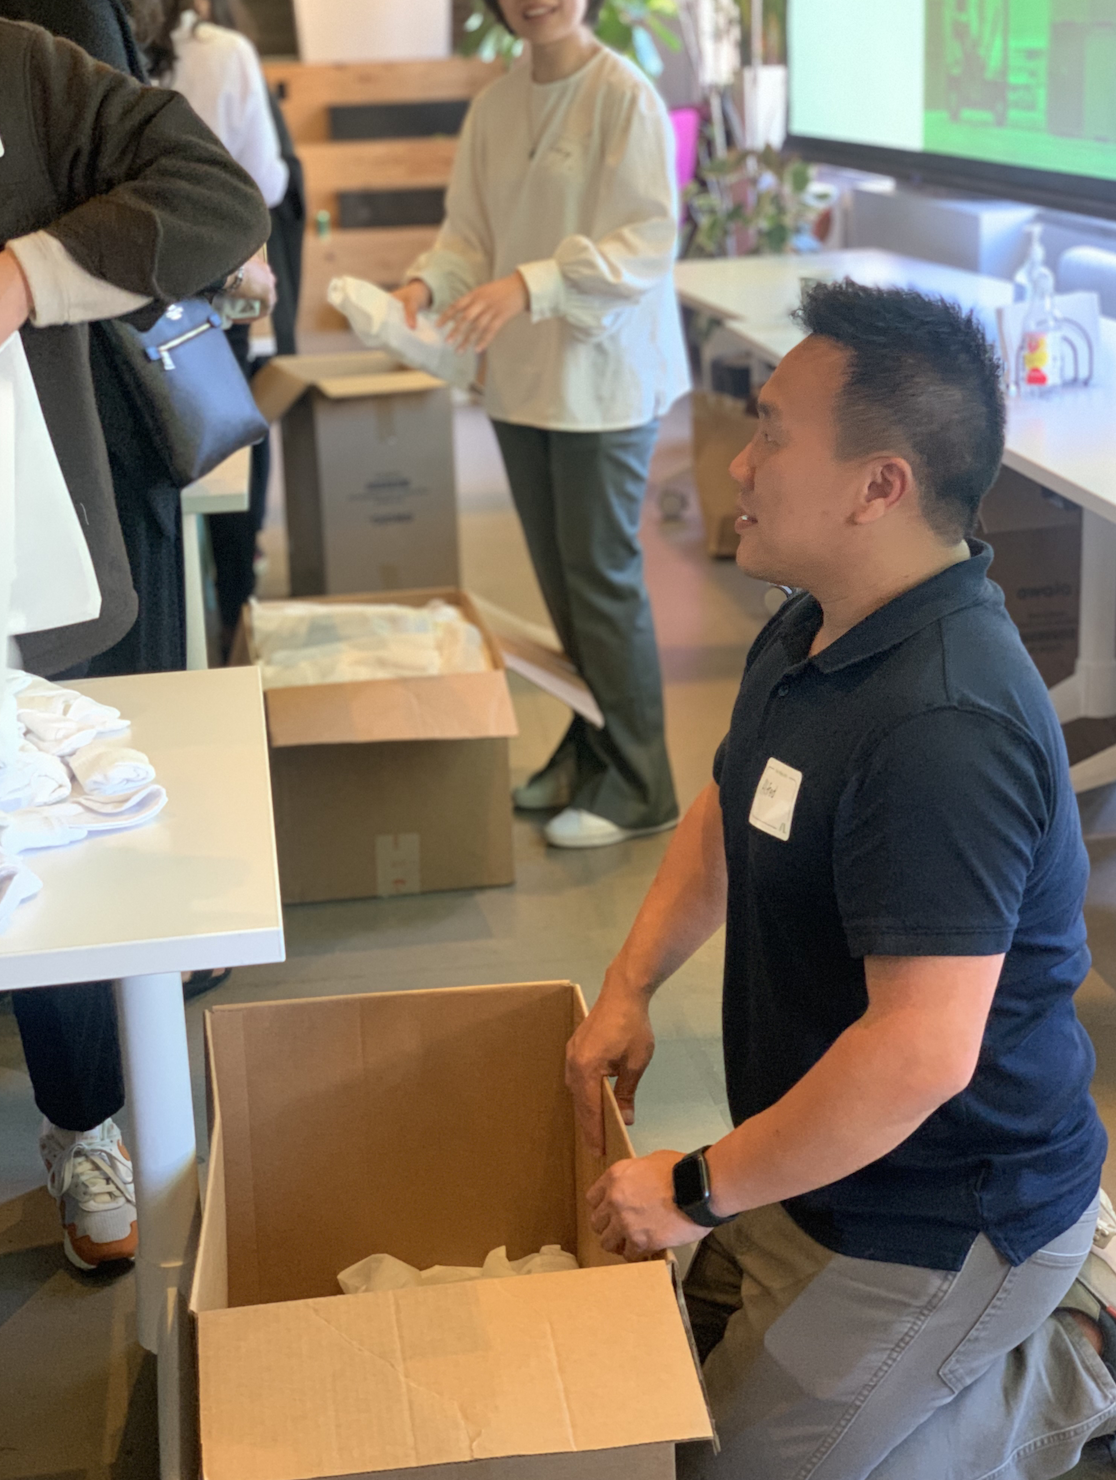
Box Packer: (Image right) Have at least one person stationed at the end of each assembly line. This person will be your “Box Packer”. They make the ✨magic✨ happen and ensure kits get neatly placed in the boxes. This is important so that items don’t fall out of the kits and Recipient’s see the care you put into packing.
Photographer/Quality Control: Have at least one person in charge of taking photos of the group. The day can move quickly, having someone in charge of photos will ensure you have the memories and a keepsake from the day! This individual can also help with Quality Control, ensuring all products and totes are up to dignified standards and disposing or cleaning items that need additional care.
Packing the Boxes
At the end of the line, make sure that the bags get tied once (no double knots), and rolled up neatly so that items do not spill out. The more you can fit in a box the better! Ensure that totes are neatly placed. Once a box is full, tape it up neatly. You can fit on average 50 kits per medium/large box.
Once each box is filled, insert the Hygiene Box Insert page with all products written on the document. This tells the Recipients what they can expect to find inside.
Instructions to Assemble Menstrual Care Packs
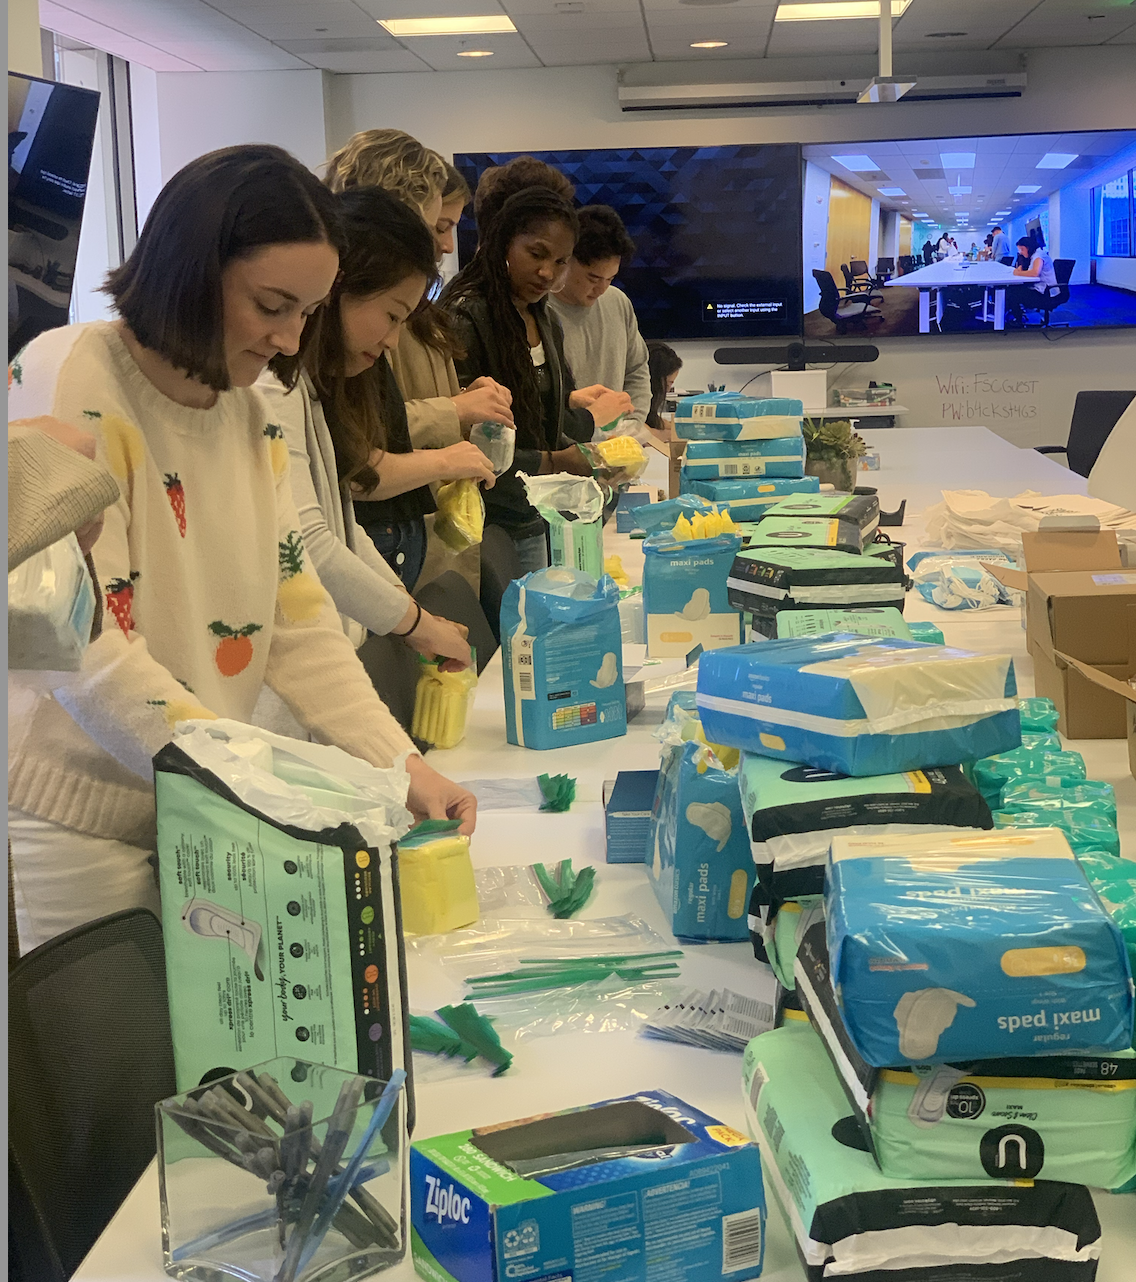
Have everyone sit around the table and fill each ziploc bag with the following:
2 body wipes
A survey/handwritten note
Either tampons or pads.
Do not mix tampons and pads into the same ziplock to ensure Recipient choice.
Approximately 5-7 pads or 10 tampons fit into one ziplock. If you have more menstrual care available, you can fill up the ziplocs even more!
Roles for the Group:
Photographer/Quality Control: Have at least one person take photos of the group. The day can move quickly, having someone in charge of photos will ensure you have the memories and a keepsake from the day! This individual can also help with Quality Control, ensuring all products are up to dignified standards. All menstrual care supplies must be individually packaged and tampons and pads should not be mixed.
Packing the Boxes
The more you can fit in a box the better! Tampons and pads packs can be packed into the same box! Once a box is full, tape it up neatly.

Quality Control
We have had a profound impact on the health of our community because of our Quality Control Standards. We appreciate you for helping us to keep these standards!
Uniform Kits: Ensure every hygiene kit is uniform in hygiene products and is assembled with at least 1 of each hygiene product. No kits should be without a product that another kit includes.
Pack with care: Ensure each hygiene product is new/unused and is clean. Any supplies that may have leaks or are ruined, please check if it simply needs to be wiped off or should be discarded and not used.
*If packing menstrual care packs, ensure all products are individually wrapped and do not mix tampons and pads in the same ziplock.
Extra Supplies: You might end up with extra products because some products ship in different quantities. If you have additional supplies (i.e 10 extra lotions), pack an extra lotion into 10 kits.
Extra Totes: If you have extra totes from the hygiene kits that can not be filled completely, do not create any incomplete hygiene kits. Simply use the remaining supplies to fill the other completed kits and the remaining empty totes can be kept as a gift to you for personal use!
Pack Neatly: Totes should be tied off once to help items stay inside during transit and rolled to be packed neatly into a box. No double knots to help Recipients easily open kits. You can fit about 50 kits into a medium/large size box. It is important that boxes are packed neatly for our Recipients to receive products with Dignity.

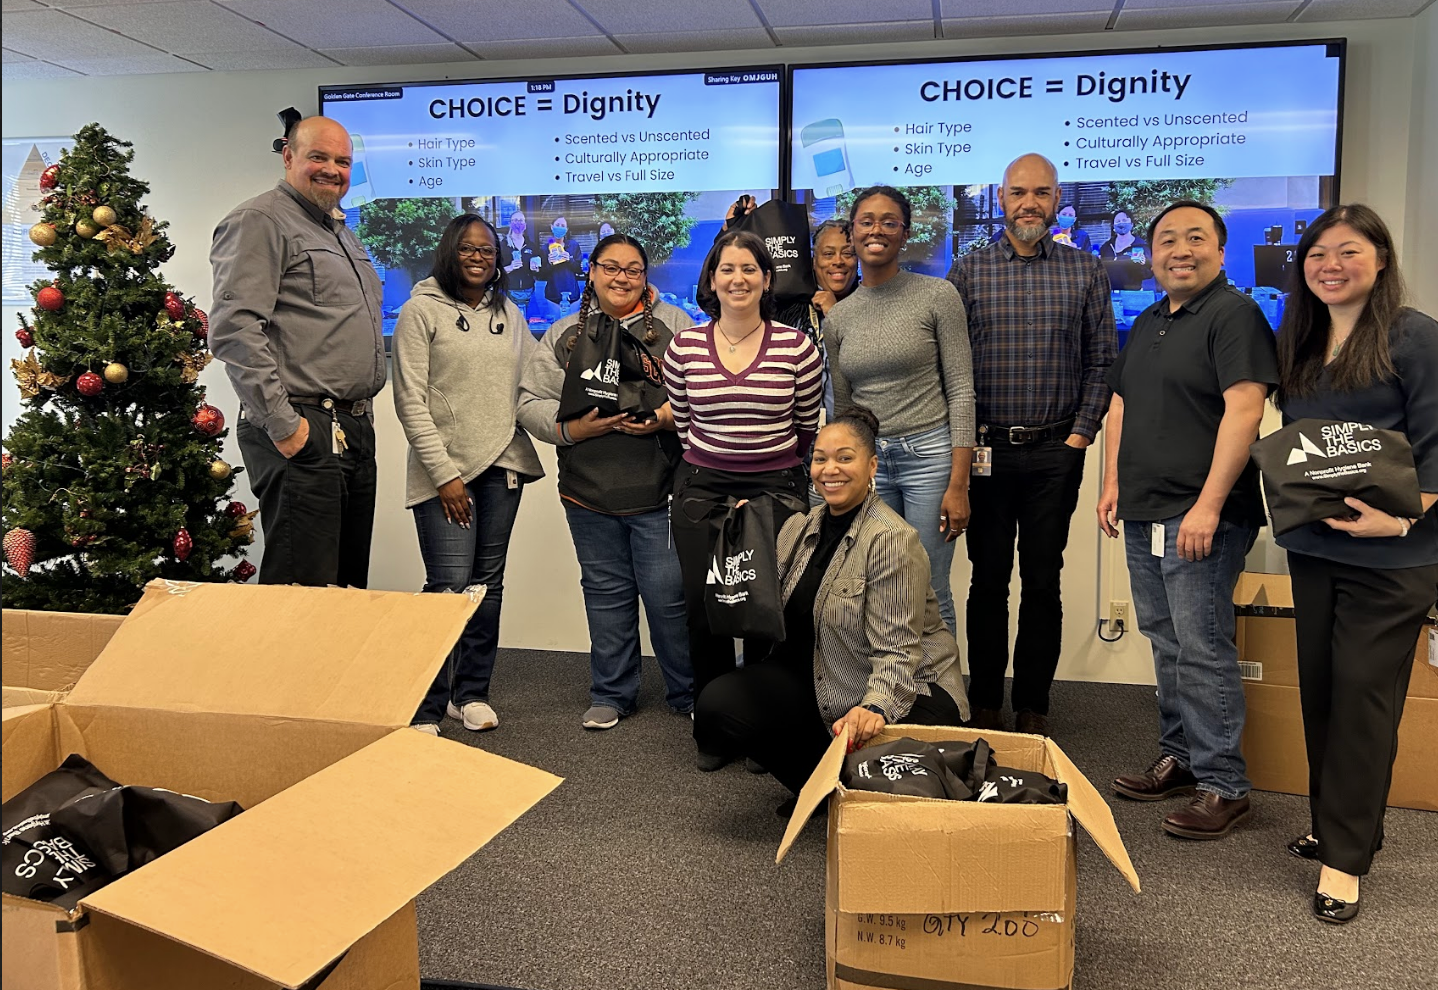
Step 5- Celebrate with a Closing Video & Photo (Final 2 minutes)
The final step is a Simply the Basics tradition. Gather everyone together to take our traditional Team Video and photo.
One person videotaping or by setting up a camera, direct everyone to share:
“We are (Insert Team Name) and today we packed X amount of Hygiene Kits for Simply the Basics!”
Share your video and any photos that you took with us and we will highlight your group to social media!
You can also tag us @SimplytheBasics
Post Activity & Delivery
AFTER YOU'VE PACKED THE KITS
Step 1: Please Deliver to the Receiving Site noted in your confirmation email. All drop offs must be made through an appointment with Simply the Basics to ensure someone is at the receiving site (M-F 9-5pm) to receive the supplies. If you prefer to ship your kits, simply let us know.
Step 2: Share your Feedback in our Survey! We would love your input on the experience, if you wouldn't mind taking a few minutes to complete our survey with Simply the Basics and share with us any photos or videos with our team! We love to be tagged in any social media posts and will be sure to re-post them too.
